SESSION A
Week 02: Image Inspiration, basic image editing for web and basic CSS
Week 01 review
- Web browsers don’t actually use URLs to request websites from servers. They use IP addresses (Internet Protocol). When you type your URL into a address bar it is sent off to a name server that matches it to its IP address.
- There are 3 types of content: HTML, CSS, and Javascript
About legal images
Finding stock photography is quicker, cheaper and more practical than producing your own images. The internet has many free creative resources that we can use to enhance our projects. Before implementing a creative resource like stock photography, it is important for the designer to be aware of copyright licensing issues.
Copyright and licensing
You can’t legally use any image you have found online and upload it on your site for commercial purposes. Most of the images on the web are subject to copyright restrictions. Regardless whether an image is free or not, these resources usually come with a license to ensure fair use. It is critical to understand the licensing details and limitations. Luckily there are many image resources that fall under the ‘public domain’ and ‘creative commons’ licenses.
What is ‘public domain’?
Public domain work has no copyright owners. They can be used for any purpose, even commercial projects. An author can forfeit their copyright, putting their work on the public domain. Or copyright ownership expires 50-70 years after an authors death.
What is ‘Creative Commons’?
Creative commons is a free, easy-to-use copyright license to share and use your work on conditions of your choice.Think of it as ‘some rights reserved’. Creative Commons licenses have 6 variations that cover particular uses:
- CC Attribution – Allows copying, modification and redistribution of work, even commercially, as long as the original author is attributed.
- CC Attribution-NonCommercial – Allows copying, modification and redistribution of work, non-commercially, as long as the original author is attributed.
- CC Attribution-ShareAlike – Allows copying, modification and redistribution of work, even commercially, as long as the original author is attributed, and any new work based on yours must be licensed the same way. Ensuring that all resulting work remains free.
- CC Attribution-NonCommercial-ShareAlike – Allows copying, modification and redistribution of work for non-commercial use, as long as the original author is attributed, and any new work based on yours must be licensed the same way. Ensuring that all resulting work remains free.
- CC Attribution-NoDerivs – Allows copying and redistribution, even commercially, as long as the work is unmodified and the original author is attributed.
- CC Attribution-NonCommercial-NoDerivs – Allows redistribution for non-commercial use, as long as the work is unmodified and the original author is attributed.
Finding legal images and inspiration
Searching for the perfect photo for a web project can be difficult. Most people run to the internet searching for photos, since those images are seemingly free. But many of those photos are copyrighted, and using them without permission can lead to an embarrassing legal confrontation.
An easy way to avoid this is to select images from Creative Commons stock photography sites:
- Library of Congress Digital Collections – http://www.loc.gov/library/libarch-digital.html
- Creative Commons – http://search.creativecommons.org
- EveryStockPhoto – http://www.everystockphoto.com
- WikiMedia – http://commons.wikimedia.org/wiki/Main_Page
- Flickr Commons – http://www.flickr.com/creativecommons
Basic Photo Editing for web
There are many free online image editors that perform these basic tasks beautifully and cost you a penny. There are literally dozens of free applications out there. These are a few.
- http://pixlr.com
Online photo editor with many similar features to Adobe photoshop - http://www.sumopaint.com
Available online or can be downloaded - http://www.splashup.com
Photo editor modeled after photoshop but with simplified features
For the purpose of this demonstration we will be using photoshop. But these are simple exercises that you can do to edit and resize your photos. Keep in mind that there are many ways to accomplish any one image editing task in photoshop.
Generally the first step is to import your image into photoshop.
- Choose File > Open
- Select the name of the file you want to open
- click Open
Cropping images
To crop an image in Photoshop, we use the Crop command
- Select the crop tool:
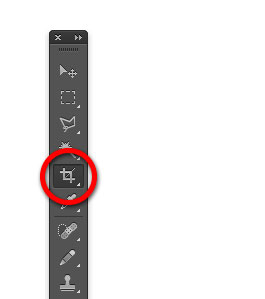
- Photoshop places crop handles around the image:

- Click and drag any handle to resize the crop box
Resizing images
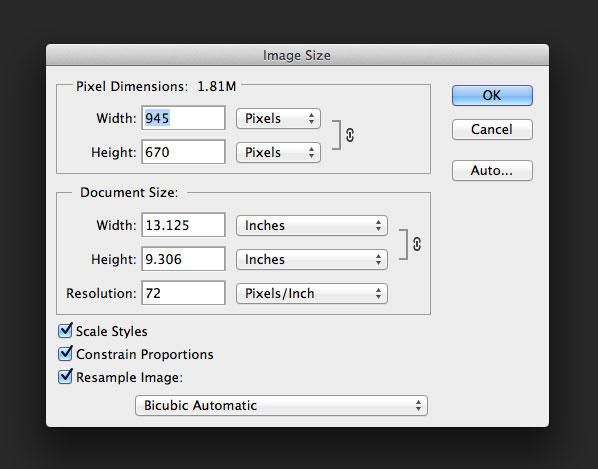
To resize an image in Photoshop, we use the Image Size command
- Choose Image > Image Size
- This will bring up the image size dialog box where you can adjust the size
Exporting images for web
Once your image is successfully edited and/or resized it is time to optimize it and save it.
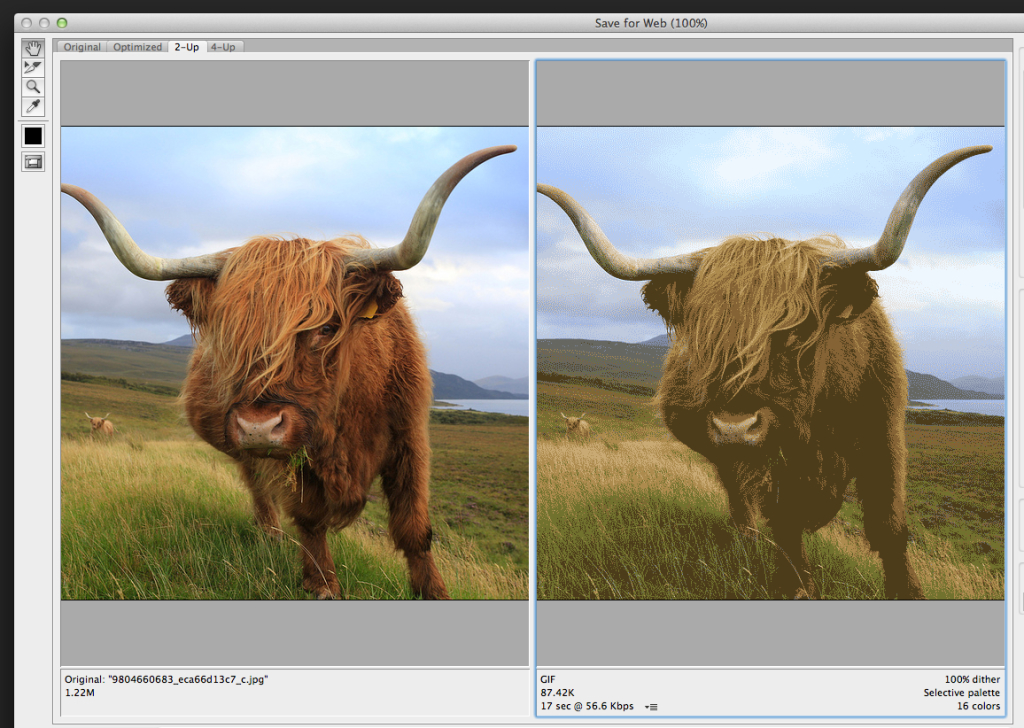
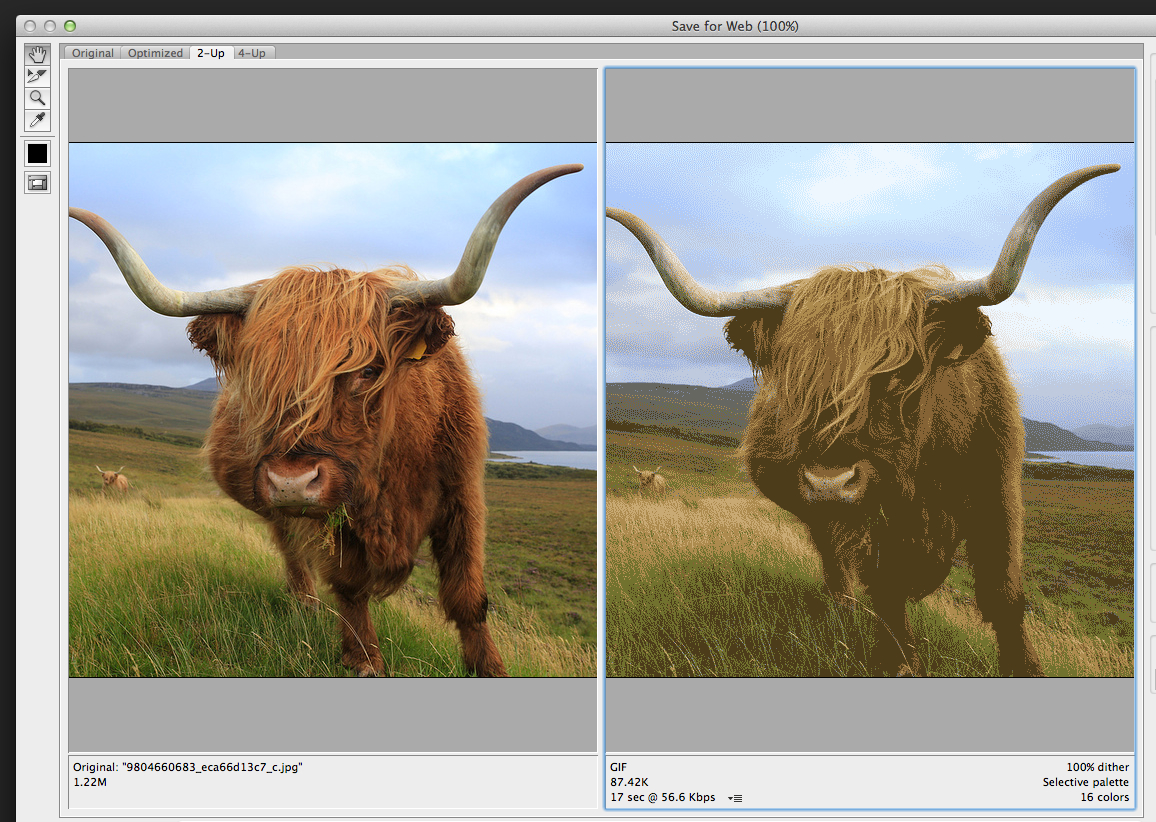
- Choose File > Save for Web
- This opens a very large dialog box. By default Optimized tab is selected, which means you’re not seeing the original image. Instead you’re seeing a preview of what the image will look like with the current optimization settings applied.

- Switch to the 2-Up mode so you can see a comparison between your original version and the optimized version.
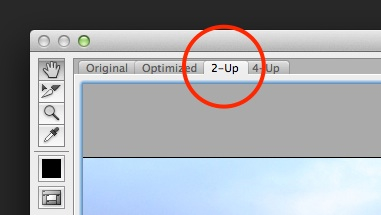
- With 2-Up selected, we can now compare the original version of the image on the left to the optimized version on the right.